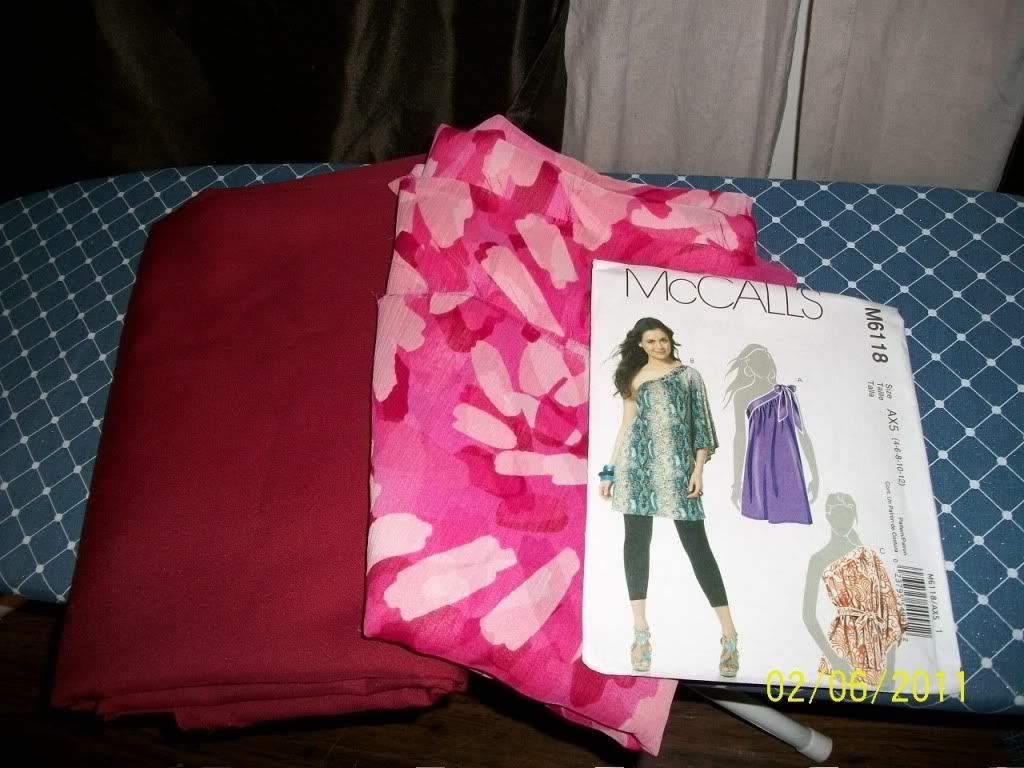
I have made dresses before, but they were for Halloween, so this one is my first REAL dress that i have ever made by myself. A single shoulder dress with a very pretty fabric that i picked up at Hancock's on a clearance rack!
I am using McCall's pattern M6118, Tunic A without the bow. Here is a link for the pattern info.
The dress has two layers, one is a layer of dark red fabric, a fabric i used for my Renaniance Fair costume last year, and a flowy patterned fabric that i am sewing onto the front.
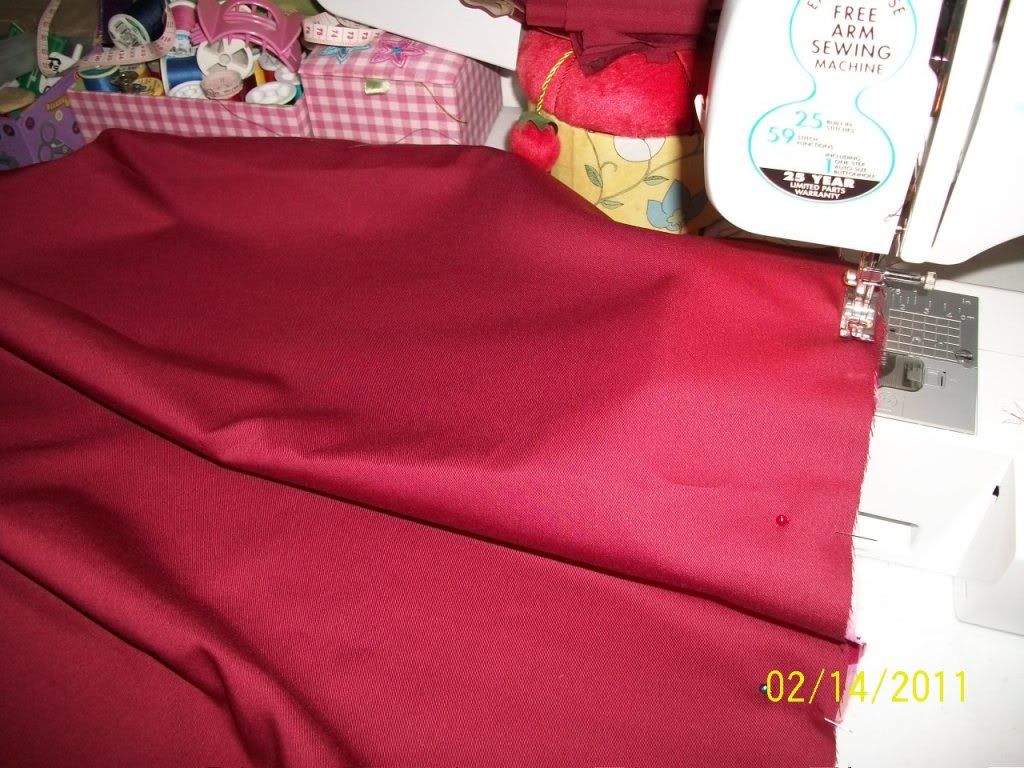
Here I was cutting my red fabric with the pattern pinned.
After cutting all the red pieces, i cut the flowy one
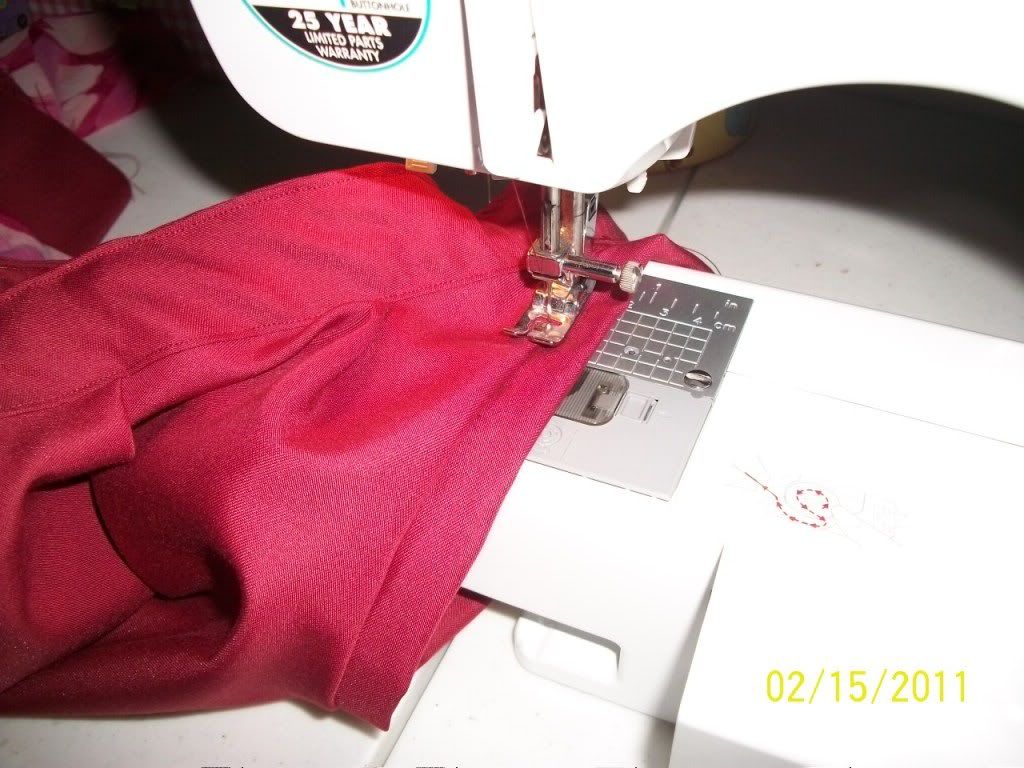
Now onto the sewing part. Here i was sewing the shoulder band, front and back together without using the interfacing (i didnt wanna use interfacing for this dress)
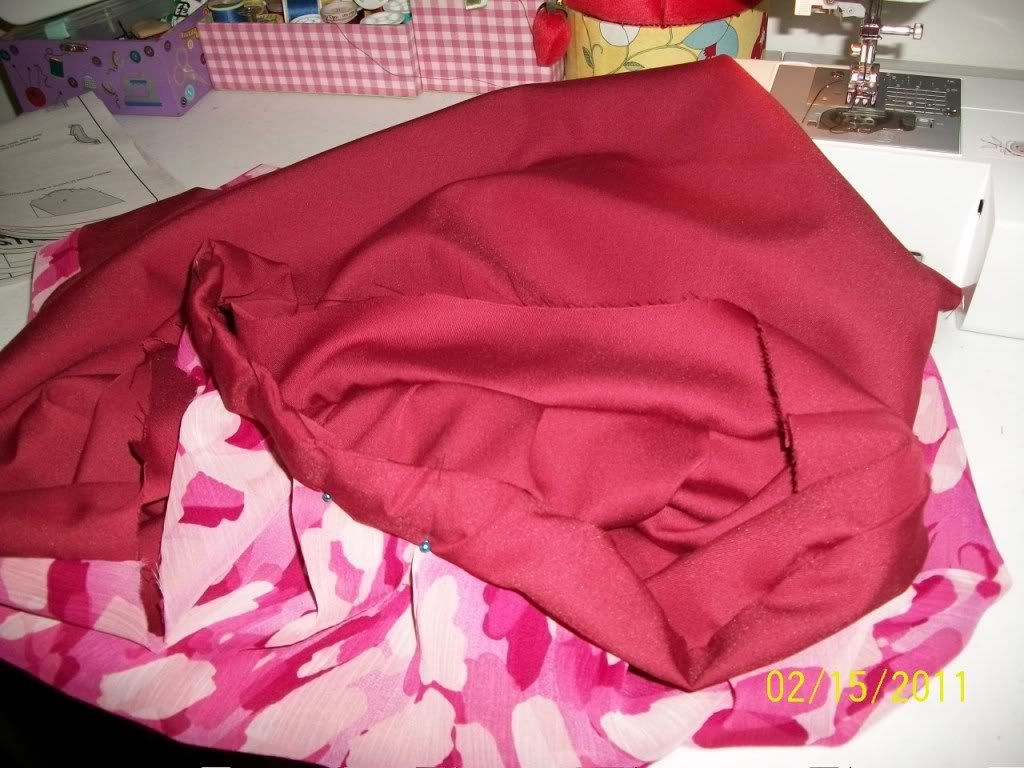
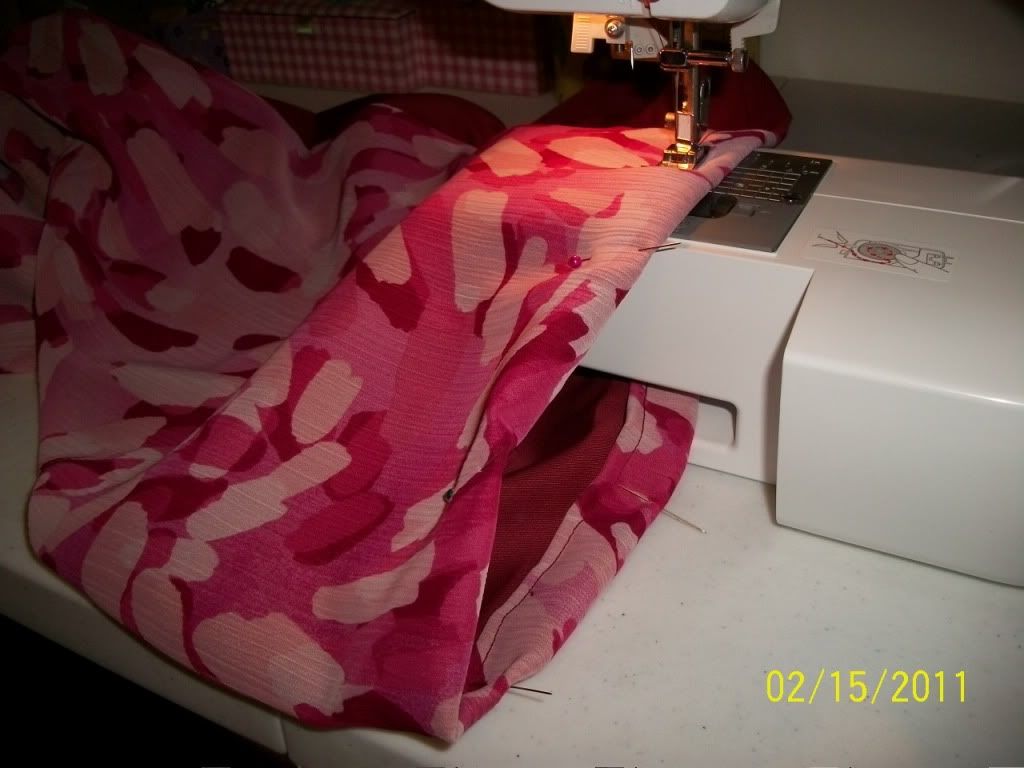
Then I sewed the front and back of the tunic together at shoulder and sides with the flowy front. I skipped the gathering part. the pattern says to gather the upper edge, but i wanted to be only folded a few times instead of the gather.
After that, i pinned the shoulder band to the tunic without using interfacing, so here, i did not follow the pattern. i just winged it.
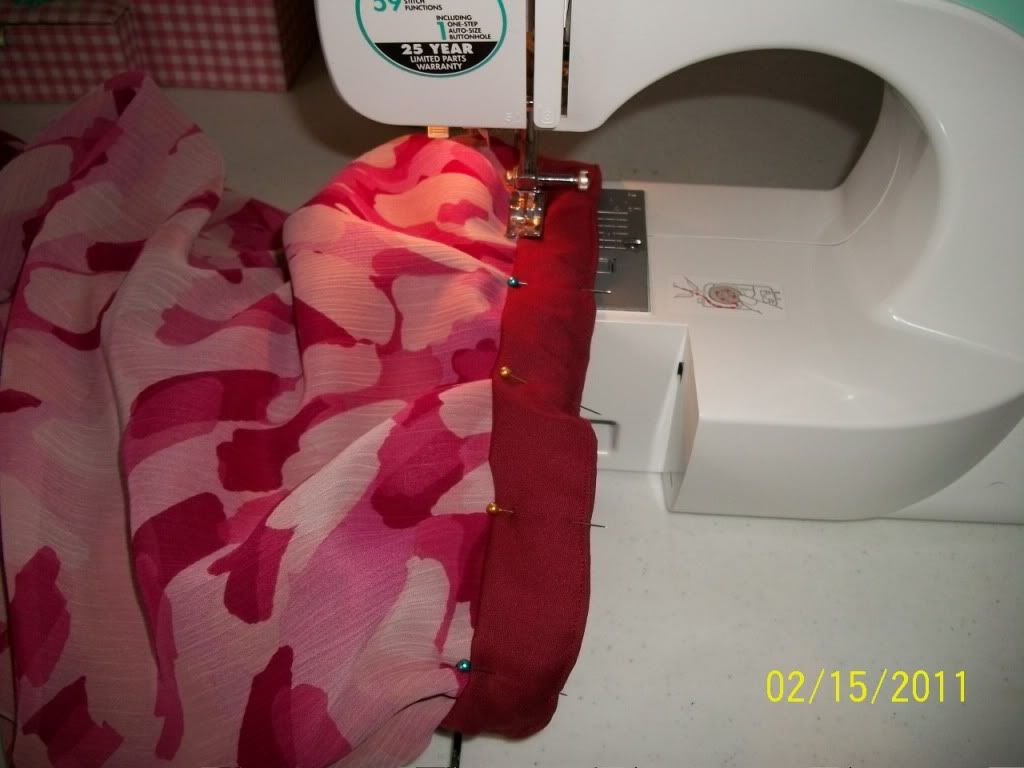
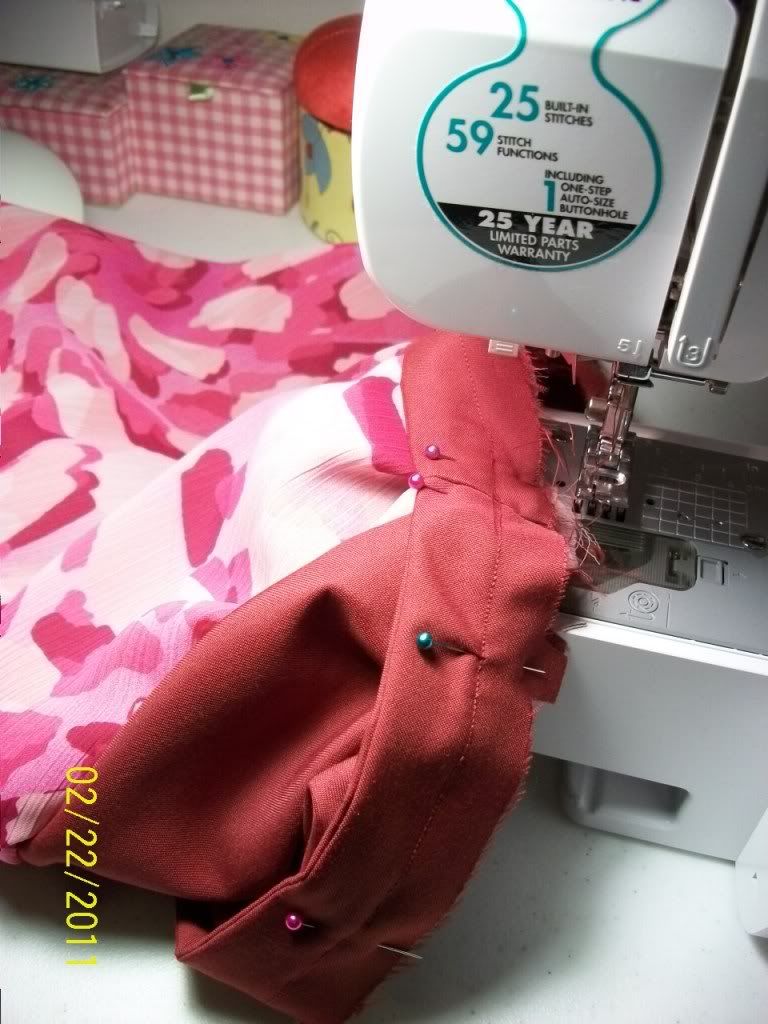
Here i am sewing it together.
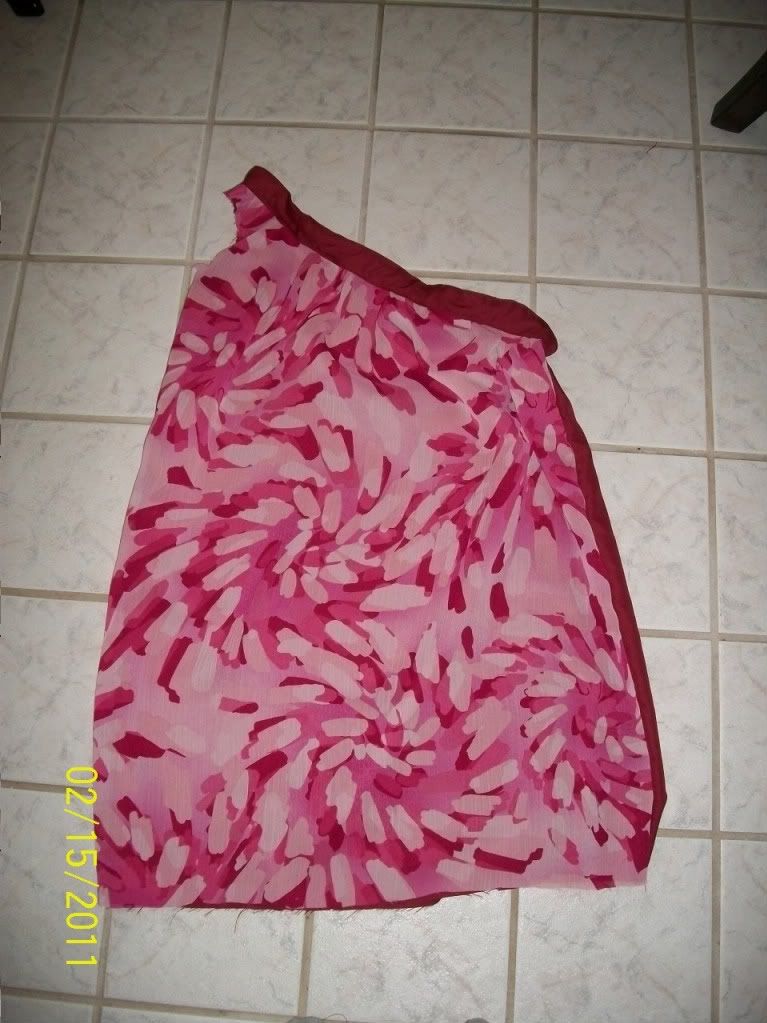
This is how it looked, without the bottom hem or the armhole done
Then onto the armhole
Bottom hem
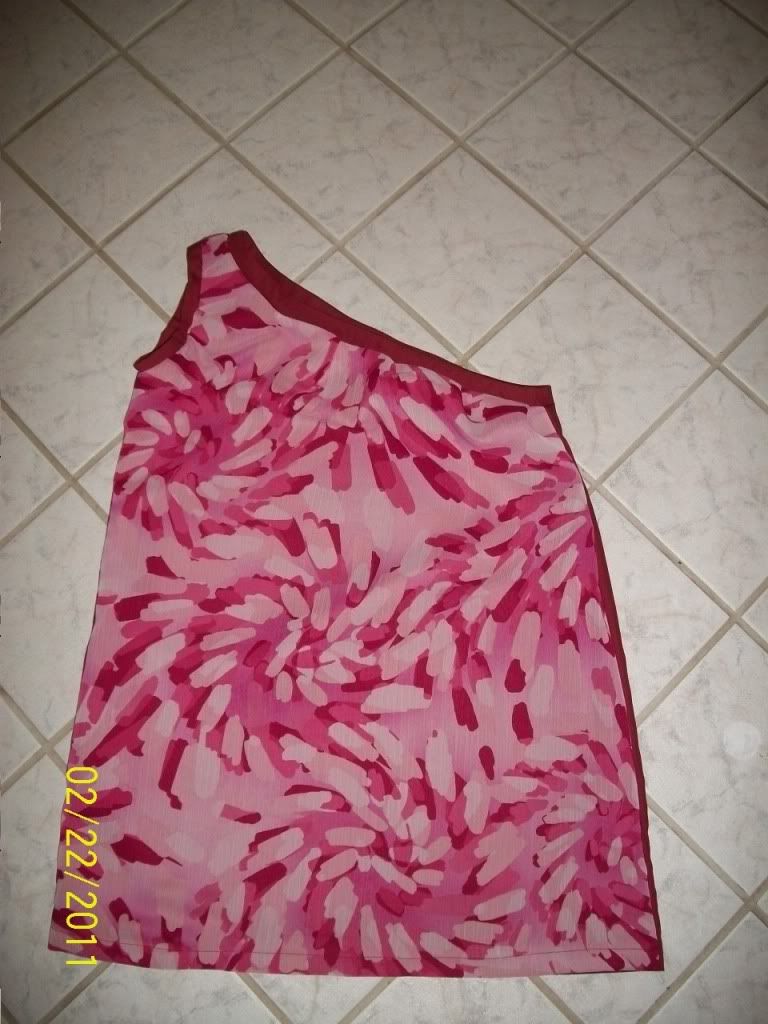
The finished dress
All the while, i was watching my favorite show FRIENDS
Update: Since i have made that dress, i kept thinking how i didnt like the neckline, so i ripped it all apart and redid it. Instead of having four layers , i cut that in half and sewed onto the garment with right sides together instead of what the pattern told me to do (sew that neck piece just as a bias tape onto the garment). this way, my neckline is smooth and hugs my body.
The final product


-3.jpeg)